Slotbound Hard Mode Solo Build: One-Unit Carry Guide
Quick answer
Merge every unit you summon into one melee carry and feed it all run long — a level 200+ Frankenstein can beat the hard mode final boss alone, as shown first-hand in the YouTube run "I Made a LEVEL 200+ Unit to SOLO Hard Mode!" That player started on hard, hard-committed to a single absorbed unit, and finished the Orc Arch Shaman fight with the lone unit at level 202, over 1,000 max HP, 231 attack and 48 attack speed, dealing 16K in its last hit. The strategy was suggested by a viewer, and the creator himself says he is not sure it is the most broken way to do it — so treat it as proven for one recorded run, not as the developer's intended solution.
| Proven solo clear | Frankenstein, level 202, 1,000+ max HP, 231 attack, 48 attack speed, final damage 16KI Made a LEVEL 200+ Unit to SOLO Hard Mode! | Slotbound (YouTube) |
|---|---|
| Boss beaten | Orc Arch Shaman, hard mode final bossI Made a LEVEL 200+ Unit to SOLO Hard Mode! | Slotbound (YouTube) |
| Game version | Demo v0.4.1 (2026-10-06); Early Access planned for November 10, 2026Slotbound on Steam (official) |
The Slotbound hard mode solo build: merge every unit into one fed melee carry by the final boss, with the absorption route, shop picks, and shop priorities.
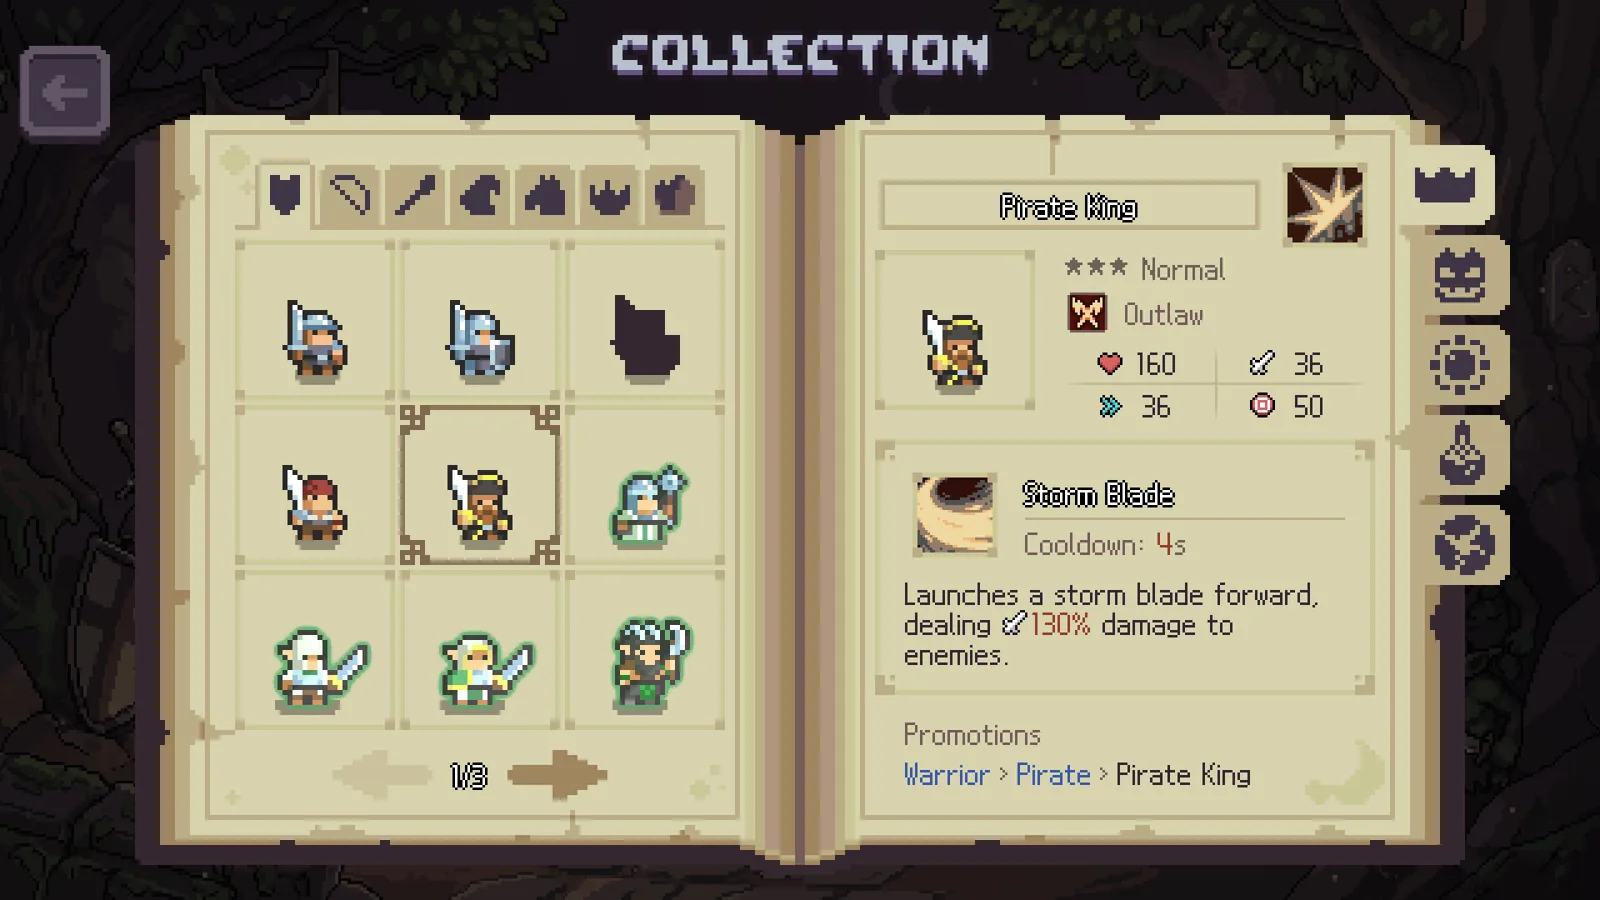
Table of Contents
Merge every unit you summon into one melee carry and feed it all run long — a level 200+ Frankenstein can beat the hard mode final boss alone, as shown first-hand in the YouTube run "I Made a LEVEL 200+ Unit to SOLO Hard Mode!" That player started on hard, hard-committed to a single absorbed unit, and finished the Orc Arch Shaman fight with the lone unit at level 202, over 1,000 max HP, 231 attack and 48 attack speed, dealing 16K in its last hit. The strategy was suggested by a viewer, and the creator himself says he is not sure it is the most broken way to do it — so treat it as proven for one recorded run, not as the developer's intended solution.
What you need before starting
- A copy of the Slotbound demo. This route was played on the demo (v0.4.x); the official Steam page lists Early Access starting November 10, 2026, and new units and Cores may shift the meta after that.
- A melee evolution in mind as the final body. Frankenstein (melee, hits up to four enemies for 90% damage with 45% kill chains) was the recorded pick. The player notes a single-target Ent is "probably correct" for pure boss damage but played Frankenstein for the AoE clear.
- The Mercenary Contract meta-progression upgrade (spend 200 gold to choose one of three normal units, usable twice per run) to secure early fodder.
The route
Waves 1–5: set up the feed
Start with a small standard board — one frontliner and two archers clears the first waves comfortably. Use both Mercenary Contract charges early (the recorded run grabbed a Spearman with Frenzy and "on absorb, absorb level +2"). Buy shop Items that help a single unit: "first ally hit takes 10% less damage for 3 seconds" was the first purchase, precisely because it scales when you have one body.
Waves 5–10: choose the candidate and trial it
When your candidate evolution appears (Frankenstein here, Iron Cavalry and High Elf were also trialled), promote it and start feeding it. Position it front, absorb a few units, and compare its performance against a backup candidate on the next wave before committing. Keep everything else alive on the board for now — back-row units are future fodder.
Wave 10 onward: hard commit
After the Wave 10 mini-boss (Grim of Orc), the run stopped split-boarding and began absorbing every summon into the carry immediately. Buy "frontmost ally takes 7% less damage" from the shop. The shop's once-per-battle survival Item — "an ally taking lethal damage survives at 1 HP and cannot fall" — was bought the moment it appeared and upgraded to level 3 by the end; it is the safety net that makes a one-unit board viable.
Mid-run: build the engine
Pick spin and absorption Cores that multiply your fodder supply: jokers (each slot has a 1.5% chance to show one, counting as every symbol), "after the first absorption of each wave the next spin costs 50% less", and absorption-triggered spin refunds. Absorb early each wave so the boosted spin fires. Frankenstein's AoE (up to four enemies per swing) kept normal waves clear while the level snowballed — level 35 by the mid-teens, 101 by Wave 20, 133, then 190.
Pre-boss shop: stack the boss debuffs
Spend the last shops on three targets, all upgraded to level 3 in the recorded run: "highest HP enemy takes 16% more damage" (the boss is always the highest-HP enemy), the survival Item, and your carry's damage-reduction Item ("this ally takes 13% less damage"). Also grab "Duelist +6% damage" style class bonuses matching your carry's class.
Final boss: hit level 200+, then send it
Keep notching reels and absorbing through the last waves to push the carry past level 200. The run's final unit hit 202 before the Orc Arch Shaman fight, and the boss "was not even close." Without a survival proc, half-health boss fights were the normal state from Wave 20 on — expect the last few waves to look scary before the payoff.
Why this works
Every absorption raises the carry's level and stats, and Slotbound gives you dozens of summons per run. A normal board splits that value across seven units; the solo build concentrates it all into one body with boss-focused shop support. The tradeoffs are real: AoE evolutions waste damage against a single boss, abilities that buff "nearby allies" or heal the lowest-HP ally do nothing on a one-unit board, and a wipe in the late game ends the run.
The safer alternative
If one-unit hard mode keeps failing, community guides report a more forgiving option: the Veil tank build. Commit all Warrior absorption toward Paladin by Wave 6 and Veil before the final boss, keep one damage support (a fed Archer), prioritize shields, healing and thorns over raw damage, and finish all fodder absorption by Wave 8. This is community-documented rather than developer-confirmed, but it is the archetype those guides recommend for beginners, and Veil tanks are reported to handle boss aggro best.
- Mercenary Contract bought and both charges used in the first few waves
- A melee evolution promoted and trialled against a backup by Wave 8–10
- Survival-on-lethal-damage Item purchased and upgraded before Wave 20
- "Highest HP enemy takes more damage" bought and stacked to level 3
- Carry absorbed everything on the board and sits above level 200 entering the final boss
FAQ
What is the best hard mode solo build in Slotbound?
Players have proven a level 200+ Frankenstein solo clear of the hard mode final boss by absorbing every unit into it all run. The same player suspects a single-target Ent evolution would be stronger against a one-enemy boss, but that variant is untested on record.
What level does the solo unit need to beat the final boss?
In the recorded hard mode run, the Frankenstein finished at level 202 with over 1,000 max HP, 231 attack and 48 attack speed, and won comfortably. At lower levels the same run's boss fights were consistently close, so aim to keep absorbing until the very last spins.
Which shop Items matter most for a one-unit board?
Flat damage reduction on your carry, "frontmost ally takes 7% less damage", the once-per-battle lethal-damage survival, and "highest HP enemy takes 16% more damage" for the boss. Skip effects that reference nearby allies — they do nothing when you field one unit.
Does this build work after the full release?
Unknown as of 2026-11-06. The official Steam page confirms Early Access begins November 10, 2026, with new units, Cores and evolution branches planned; the route is only demonstrated on the v0.4.x demo.
Check note: this page draws on the official Slotbound Steam page for version and release details and on first-hand YouTube playthroughs ("I Made a LEVEL 200+ Unit to SOLO Hard Mode!" and "Can You Win With ONLY ARCHERS??") for the routes above. The Ent-as-better-carry claim and all community-guide build rankings remain unconfirmed by the developer.
Related guides for this game
Builds Guides Index
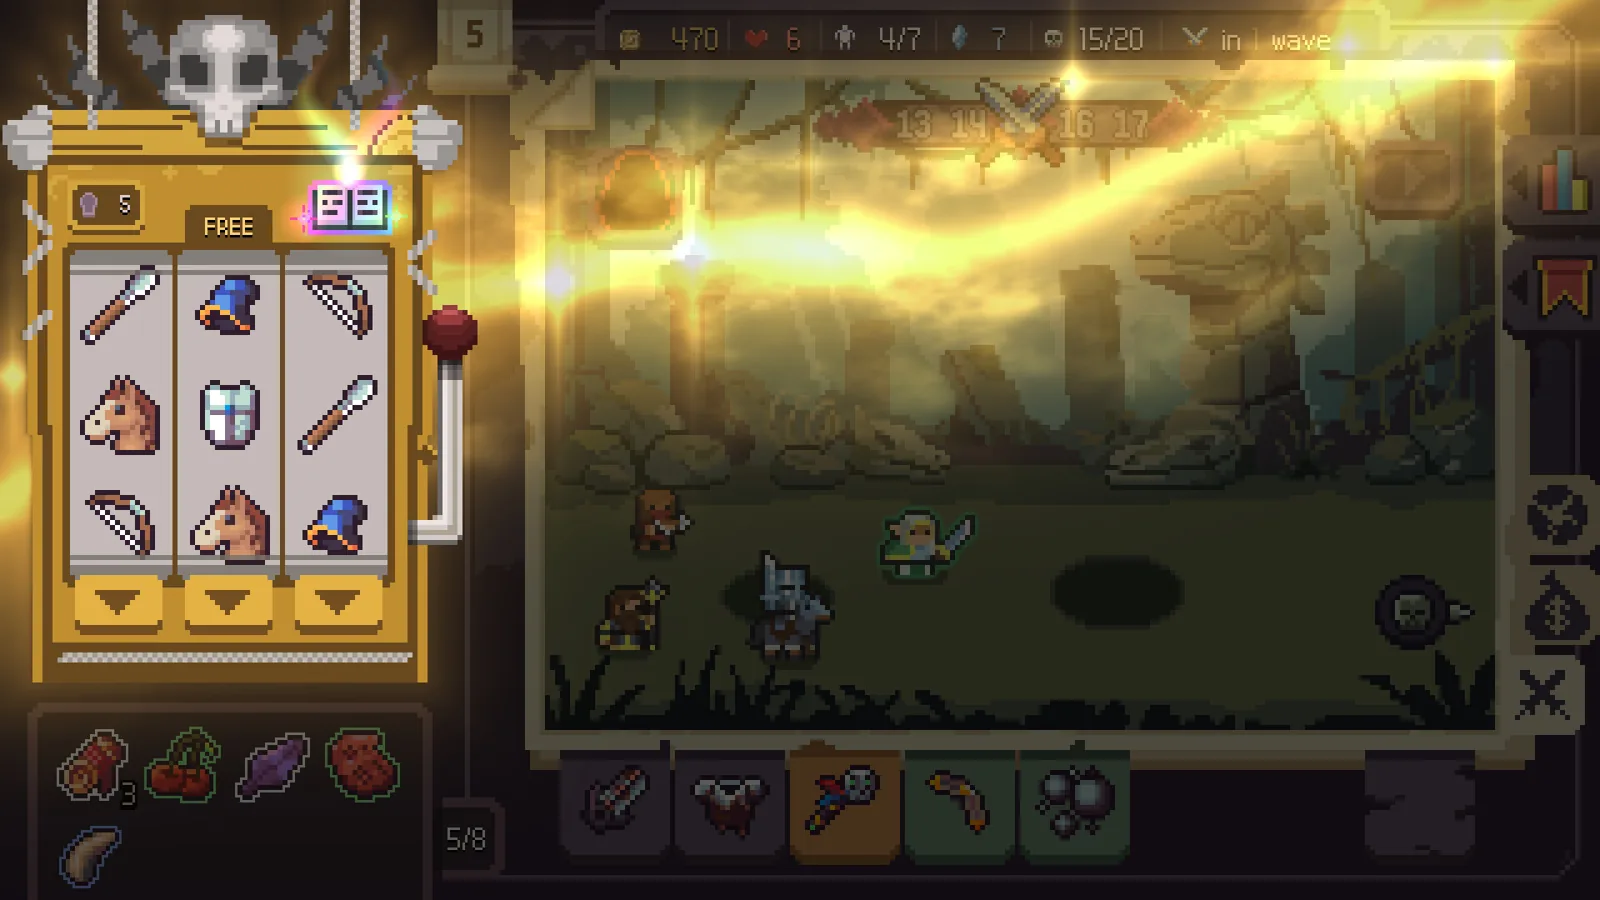
Slotbound Mage build guide: Necro Lord Path absorb carry
A Slotbound Mage build guide for the Necro Lord path: how to absorb fodder into Mages, evolve Sorcerers, and protect your backline through boss waves.
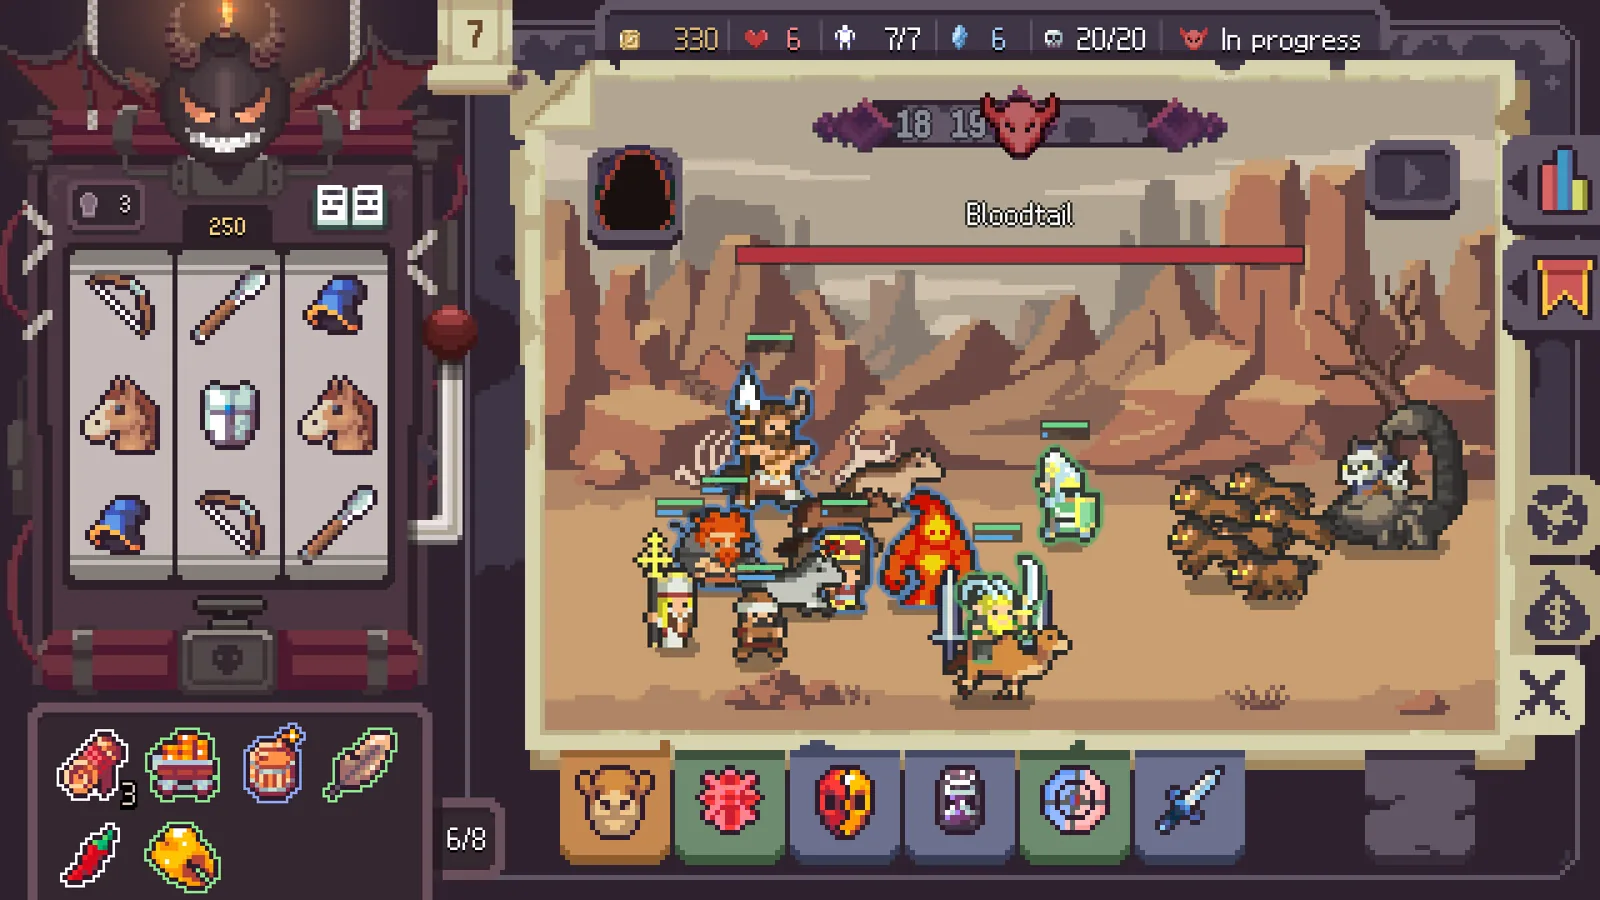
Slotbound Barbarian Build: Warrior to Rampage Cavalry Guide
The Slotbound Barbarian build route: feed one Warrior, evolve to Barbarian Cavalry, then Rampage Cavalry, with cores, items and placement for clearing waves.
Slotbound Duelist Build Guide: Combo Speed and Low Odds
A Slotbound Duelist build guide: stack combo speed, absorb units, use the Duelist manual and Jester-relic spins to offset the duelist symbol's ~10% odds.
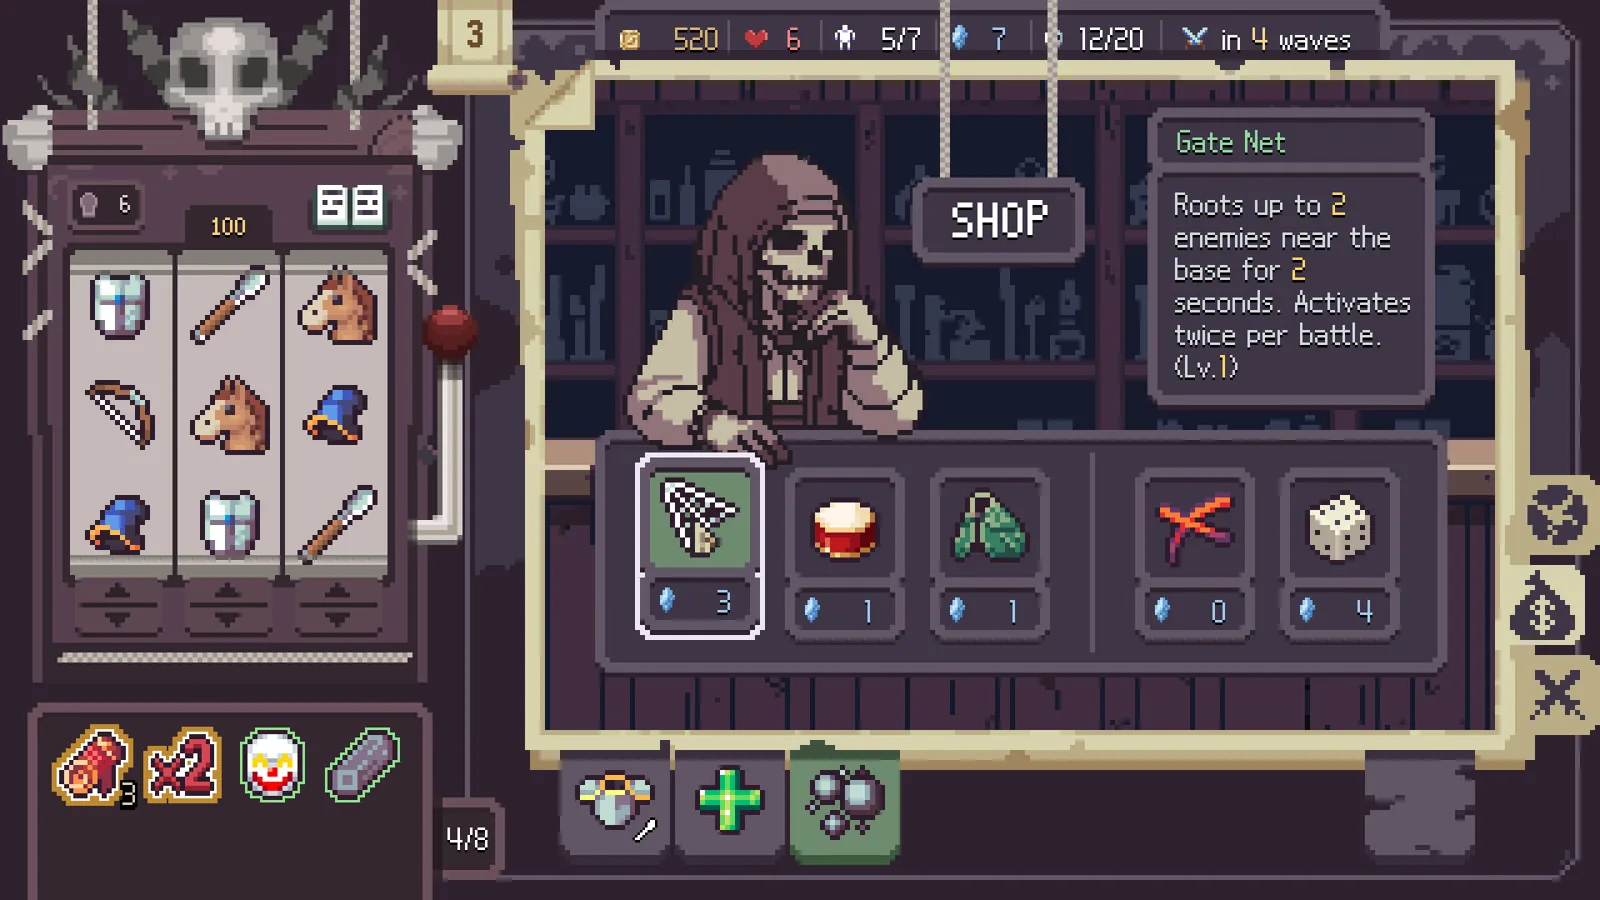
Slotbound Forest Build: Army Growth Full Run Guide
A Slotbound Forest build walkthrough: grow Elf-type units, stack Faction Synergy, and transition to Jester for a full 30-wave run.
Guide Guides Index
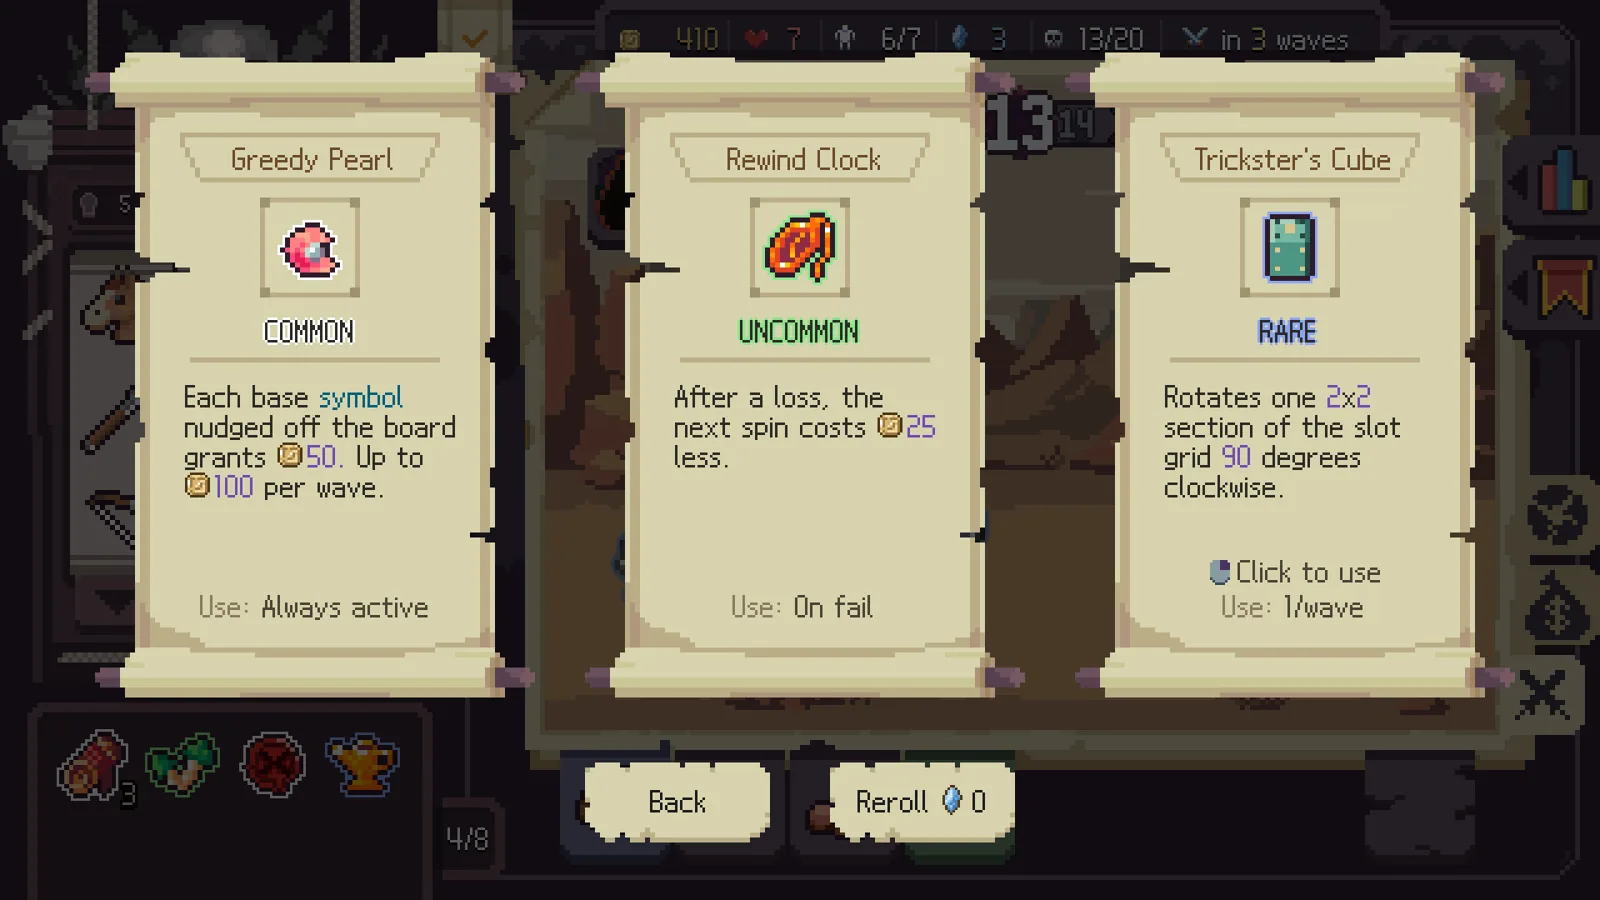
Slotbound Black Note: Item Effect and Jester Use Guide
The Slotbound Black Note core guarantees a Jester symbol on the first spin of each wave. Learn its exact effect and how to combine it when hunting the Jester.
Slotbound Deep Cave Stage 2 Guide: Clear It
The Slotbound Deep Cave stage 2 guide covers unlock conditions, Normal difficulty, cave enemies, and how to beat the demo's final area with your army.